Guide: Mortar Raker – Bit, Unit, or Blade?
Mortar Raker – How to Choose the Right Bit, Unit, or Blade?
When removing old joints, it is important to choose the right tool. Mortar can generally be divided into two groups, based on how difficult they are to rake out:
- Lime Mortar: Contains lime and is softer, making it easier to rake out.
- Cement Mortar: Often very hard and guarantees a certain compressive strength.
Choosing a mortar raker bit for softer joints:
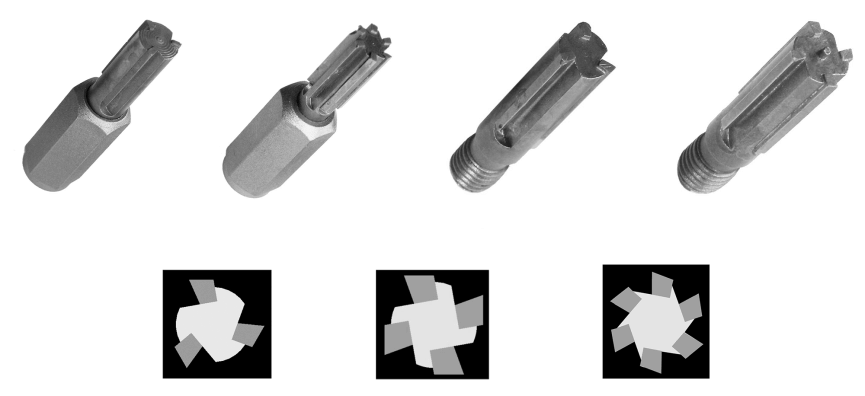
You will get the most out of a mortar raker bit for softer lime joints. It works quickly and effectively rakes out the joint. When used together with a raking sole and a powerful vacuum cleaner, you can perform the work almost dust-free. For these softer joints, it is advantageous to use a three-blade mortar raker, as the gap between the carbide plates is larger, and you can remove the most material per minute.
Choosing a mortar raker bit for harder joints:
If the joints are harder, but not extremely hard, it is recommended to use a raking bit with 4 or 6 blades. This provides a smoother work rhythm with the angle grinder, making the work more comfortable, as it vibrates less when pressure is applied.
Choosing a raker blade for very hard joints:
For the hardest cement mortars, only diamond raker blades can handle the work. Here, you simply cut out the joint. You can get raker blades either as solid or sandwich blades. Use a Ø125 mm blade for raking horizontal joints (bed joints) and a Ø95 mm blade for vertical joints (head joints).
Work Tips:
- When a joint is extremely hard, it is often also brittle. After raking the horizontal mortar joints, you can weaken the vertical joints and possibly use a raking bit for the vertical joints.
- For extremely hard joints, you can pre-cut with a thin diamond cutting disc to release tension before using a raking bit.
- If you can scratch the surface with a nail, always start with a raking bit – you can always switch to a raker blade if the joint is too hard.
Preparation before removing old joints:
Before starting your repointing project, it is a good idea to seek advice. Many do-it-yourself enthusiasts rake out the joints themselves and get help from a professional mason to refill the joints and acid-clean the masonry for a good result. You will need the following tools for joint removal:
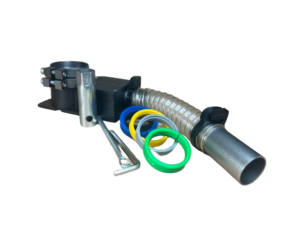
- Angle grinder
- Mortar raker
- Raking sole
- Dust mask, protective goggles, and gloves
- Vacuum cleaner
Checklist for joint raking:
- Raking depth: The masonry center recommends a minimum of 13 mm when raking out joints. You can adjust this depth on your raking sole for rakers or your dust shield for diamond raker blades.
- Joint freshness: Always check that the joint is fresh in depth – if you reach a good joint, it may be necessary to rake deeper than the 13 mm.
- Work direction: Start raking from the top to avoid unnecessary dust in the joints. First, rake the horizontal joints, then the vertical joints.
- Cleaning: Sweep all joints thoroughly clean with a stiff brush, and rinse the wall clean of dust using a garden hose.